

| << Chapter < Page | Chapter >> Page > |
(The image in the bottom-right corner of Figure 1 corresponds to what you should see if you run the online version of this application as described earlier .)
Alpha values of 0.33 and 0.66
For alpha values of 0.33 and 0.66, the output is a blend of the red background and the green/blue gradient as shown by the top-right and bottom-leftimages in Figure 1.
Deploying the swf file
If you don't have a stand-alone Flash Player on your system, or if you need to make the swf file accessible from a web site, you will need to deploy the swf file in order to cause it to run in a Flash Player browser plug-in .
The simplest case
In the simplest case, this will require you to create a JavaScript file and an html file. Templates for those two files are provided in the Flex SDK folderwith the following names and locations:
...\flex_sdk_3.5\templates\no-player-detection\AC_OETags.js
...\flex_sdk_3.5\templates\no-player-detection\index.template.html
I will leave it as an exercise for the student to read the online deployment instructions (see Application Deployment in Resources ) and learn how to deploy the swf file.
If you prefer not to work at the command-line level, another option is to download and use the free FlashDevelop IDE (see Resources ) .
Works with the Flex SDK
The FlashDevelop program works in conjunction with the free open-source Flex SDK to make it easier to create, compile, and deploy Flex applications than isthe case when working from the command line. (The version of the FlashDevelop program that is available in June 2010 is not compatible with theFlex 4 SDK.)
See the Getting Started website
After installing the FlashDevelop program, you should open the Getting Started website (see Resources ) where you will find instructions for configuring the program and getting itready for use.
The FlashDevelop IDE at startup
When you first start the FlashDevelop program running, you will see an integrated development environment (IDE) that looks something like Figure 2.
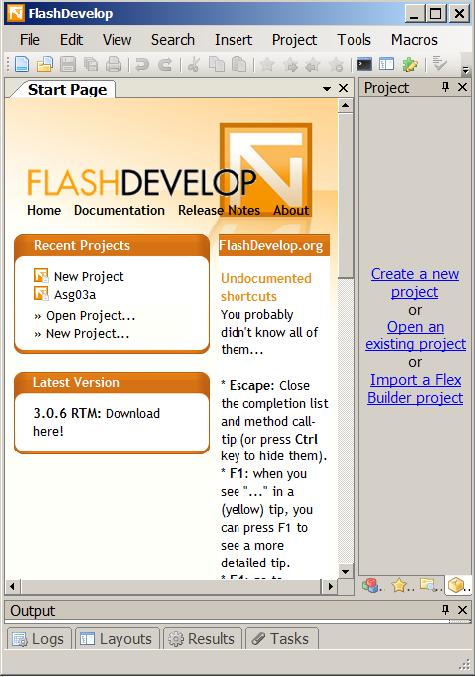
Create a new project
Selecting the Create a new project link on the right side of Figure 2 will open a dialog that looks much like the one shown (in reduced form) in Figure 3.

The text is difficult to read
Because of the reduced size, the text in Figure 3 is difficult to read. The highlighted item in the list in the upper left reads "Flex 3 Project."
Select Flex 3 Project
Then enter the name and location of the new project in the text fields near the bottom of Figure 3, and click the OK button. The IDE will change to look something like Figure 4.
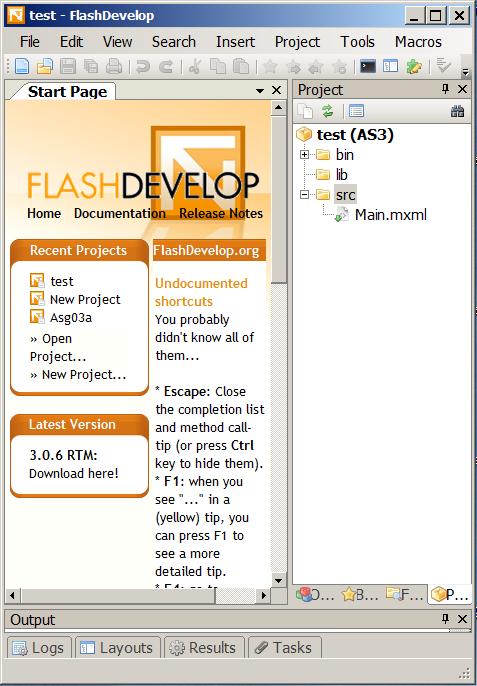
The project tree
Note in particular the tree structure shown on the right side of Figure 4 that is rooted in test (AS3) . This tree structure replicates the tree structure that is created in the folder that was earlier specified as the location for theproject.
Notification Switch
Would you like to follow the 'Introduction to xml' conversation and receive update notifications?

|
|

|
|

|
|

|
|

|
|

|
|

|
|

|
|

|
|

|