

| << Chapter < Page | Chapter >> Page > |
The thin lens equations can be used to find from the given information:
Rearranging to isolate gives
Entering known quantities gives a value for :
This must be inverted to find :
Note that another way to find is to rearrange the equation:
This yields the equation for the image distance as:
Note that there is no inverting here.
The thin lens equations can be used to find the magnification , since both and are known. Entering their values gives
Discussion
Note that the minus sign causes the magnification to be negative when the image is inverted. Ray tracing and the use of the thin lens equations produce consistent results. The thin lens equations give the most precise results, being limited only by the accuracy of the given information. Ray tracing is limited by the accuracy with which you can draw, but it is highly useful both conceptually and visually.
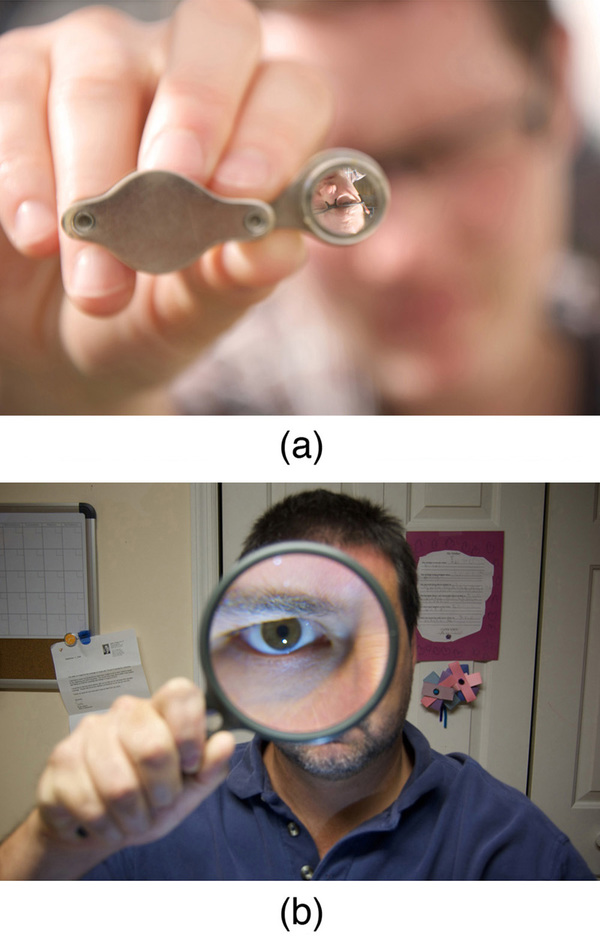
Real images, such as the one considered in the previous example, are formed by converging lenses whenever an object is farther from the lens than its focal length. This is true for movie projectors, cameras, and the eye. We shall refer to these as case 1 images. A case 1 image is formed when and is positive, as in [link] (a). (A summary of the three cases or types of image formation appears at the end of this section.)
A different type of image is formed when an object, such as a person's face, is held close to a convex lens. The image is upright and larger than the object, as seen in [link] (b), and so the lens is called a magnifier. If you slowly pull the magnifier away from the face, you will see that the magnification steadily increases until the image begins to blur. Pulling the magnifier even farther away produces an inverted image as seen in [link] (a). The distance at which the image blurs, and beyond which it inverts, is the focal length of the lens. To use a convex lens as a magnifier, the object must be closer to the converging lens than its focal length. This is called a case 2 image. A case 2 image is formed when and is positive.
[link] uses ray tracing to show how an image is formed when an object is held closer to a converging lens than its focal length. Rays coming from a common point on the object continue to diverge after passing through the lens, but all appear to originate from a point at the location of the image. The image is on the same side of the lens as the object and is farther away from the lens than the object. This image, like all case 2 images, cannot be projected and, hence, is called a virtual image . Light rays only appear to originate at a virtual image; they do not actually pass through that location in space. A screen placed at the location of a virtual image will receive only diffuse light from the object, not focused rays from the lens. Additionally, a screen placed on the opposite side of the lens will receive rays that are still diverging, and so no image will be projected on it. We can see the magnified image with our eyes, because the lens of the eye converges the rays into a real image projected on our retina. Finally, we note that a virtual image is upright and larger than the object, meaning that the magnification is positive and greater than 1.
Notification Switch
Would you like to follow the 'Physics 101' conversation and receive update notifications?

|
|

|
|

|
|

|
|

|
|

|
|

|
|

|
|

|
|

|