

| << Chapter < Page | Chapter >> Page > |
The following series of slides moves you through the process of creating a Connexions module.

When the “New collection: License agreement” screen appears, read the information, check the box that you agree and move on to “Next”.
The next window established the “metadata” for the collection and you will copy and paste the title and summary information similar to the way you create a module. Complete the language, collection sub-type and subject items as appropriate.


A work area with six (6) tabs will appear with the “Metadata” tab active. You need to at least scroll down and add one additional item to the metadata.

The “Institution” information should be typed consistently by all authors belonging to the same institution. This item was discussed earlier in the module covering the member profile.
Enter your institution’s name and click on the “Save” button.

Once the Metadata changes are saved, select the “Contents” construction tab.
We need to identify or associate our modules to the collection. This is easily done by searching for our modules. The module numbers should be on your organizing spreadsheet. Simply enter the module ID number and select the “Search” button.

Simply verify that you have the correct module. Look at its name and author. If correct, click on the “Add selected content” button.

Add the remaining modules from your organizing spreadsheet.
Most new authors will not change the default data within the “Roles” or “Parameters”. Move on to the “Preview” tab. The collection will appear. You can review it and navigate with the collection to your heart’s content. However, when done, hit the back button on your internet browser to return to the page and/or to return back to the Connexions collection building page.
The publish process identifies a short description of the changes (enter “Initial Collection” when you first create the collection). When you hit the “Publish” button, the software will ask you to confirm “Yes” for you to publish your collection.
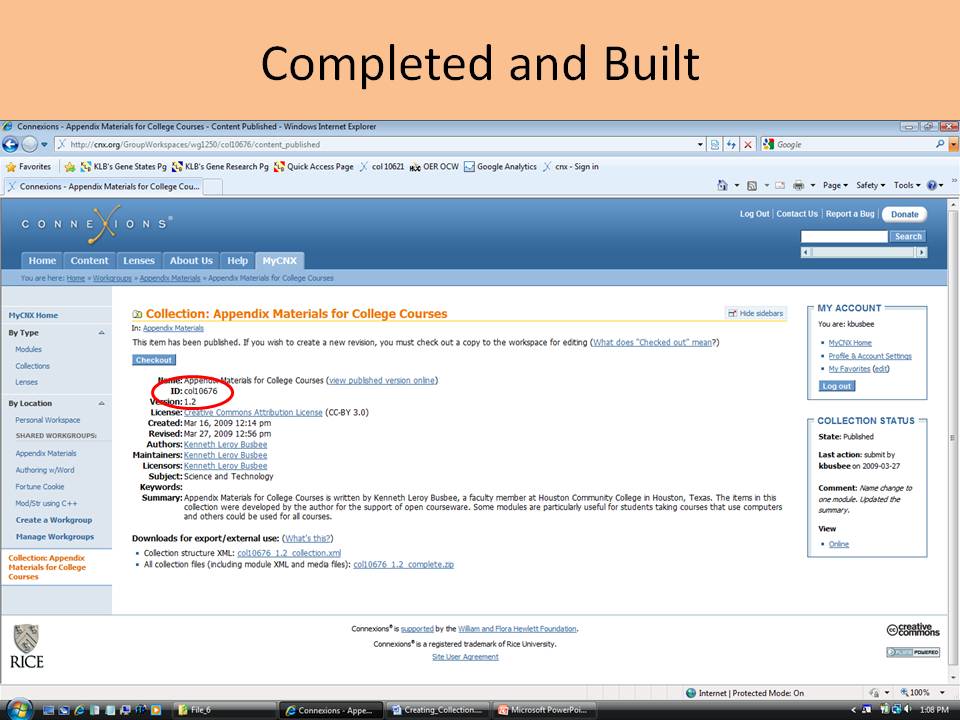
Congratulations! Your collection is now available for the world to use. I usually enter the collection’s ID number into my spreadsheet that contains my titles and summaries.
Once you have published your collection, you will discover that you want to make some corrections or changes to your modules. Additionally, you might want to add or delete a module within the collection. The process is similar to making corrections to a module. You must navigate to your collection and check it out.
Your collection will appear with the six (6) construction tabs. You make changes as needed. When you are done with your changes you need to “Publish” your collection in order to make the changes available to the Internet community.
You should plan your changes to a collection. As you update individual modules, those corrected re-published modules are automatically available on the web version of your collection. The Internet version simply points to the “latest” version of a module.
As you make changes to a collection (add new modules, delete modules, etc.) you will need to re-publish the collection before the Internet users get a new collection’s .PDF file . The newly published collection will include a revised “Glossary” and “Index of Keywords and Terms” (see the next item on reviewing a published collection).
The printed .PDF file for the collection will have a “Glossary” and “Index of Keywords and Terms” that was automatically produced from the modules included in the collection. Navigate to this workshop’s collection and download the .PDF file .

Open the downloaded file and scroll down towards the end of the collection and review the “Glossary” and “Index of Keywords and Terms”. They should contain the few items that were tagged within the Flying_Ver3.doc document and the keyword that was added to that module’s metadata when it was created.
Authors wanting a glossary and index should now understand how to add the correct tags and keywords when building their modules. Then when they group their modules into a collection they will get the intended results within the glossary and index which is automatically produced.
You will not have time to create a collection during an in-person workshop. However, you should understand the process and how tags for terms and metadata keywords will appear in your materials.
Notification Switch
Would you like to follow the 'Authoring connexions modules using microsoft word documents' conversation and receive update notifications?
|
|
|
|
|
|
|
|
|

|
|
|
|
|
|
|
|
|
|
|
|
|
|
|
|
|
|
|